Caring for your car doesn’t always mean going to the mechanic each time something seems wrong. With some simple know-how and a few tools, you can do many things yourself. You’ll save a lot of money and time, and it also helps you feel sure about keeping your car in good shape. Learning how to do these 10 basic maintenance hacks is the best way to keep your car working well and avoid big costs later. And if you are still concerned about the problem then a Spinny Care maintenance session is just a click away!
DIY Car Maintenance Hacks
Caring for your car doesn’t have to cost much or feel hard. There are so many easy fixes that you can do yourself to save money (Plus time!), and you don’t even need to know a lot about cars to do them.
For example, checking your oil level often is a quick thing you can do to make sure that your engine lasts longer. Changing old air filters or worn wipers is also easy and would cost you nothing (except from the cost of the filters or wipers themselves) than at a mechanic. Even something as simple as keeping your tires filled right can save money by using less petrol and making tires last longer.
Step-by-Step Guide to Checking Tire Pressure
Keeping your car tires at the right pressure helps save petrol, lasts tires longer, and keeps rides safe and smooth. And checking tire pressure is quick. Here’s how:
Get a Tire Pressure Gauge
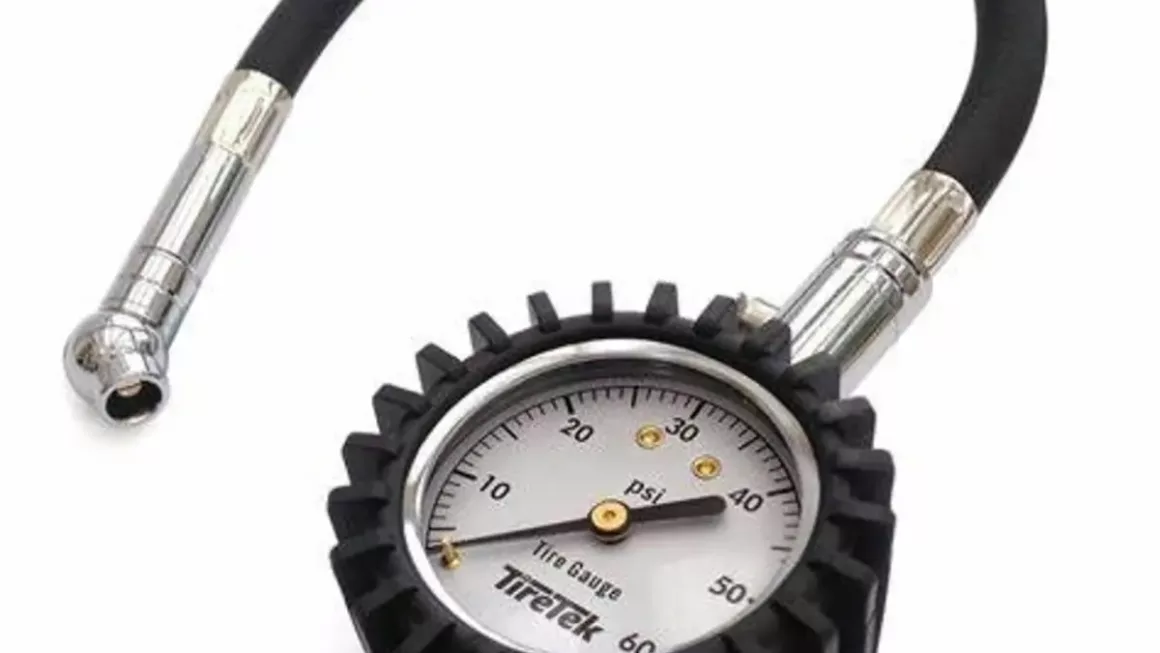
You can buy one at most local car shops or online. Gauges come in stick, digital, or dial types. For most use cases, digital gauges are simple to use.
Check the Needed Pressure
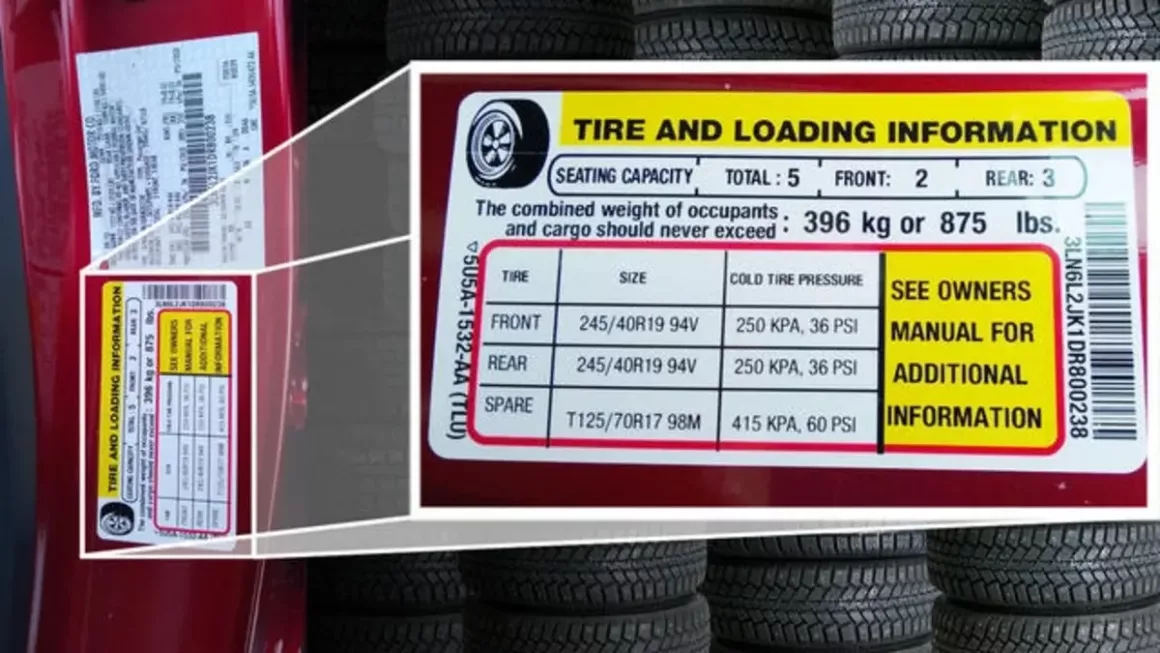
Look on the driver’s side door or in the car manual to find the optimal tire pressure recommended. It’s shown in PSI (pounds per square inch).
Check Tires While Cold
Check tire air when the car has sat for a couple of hours. Driving warms tires and can give wrong numbers.
Take Off the Valve Cap
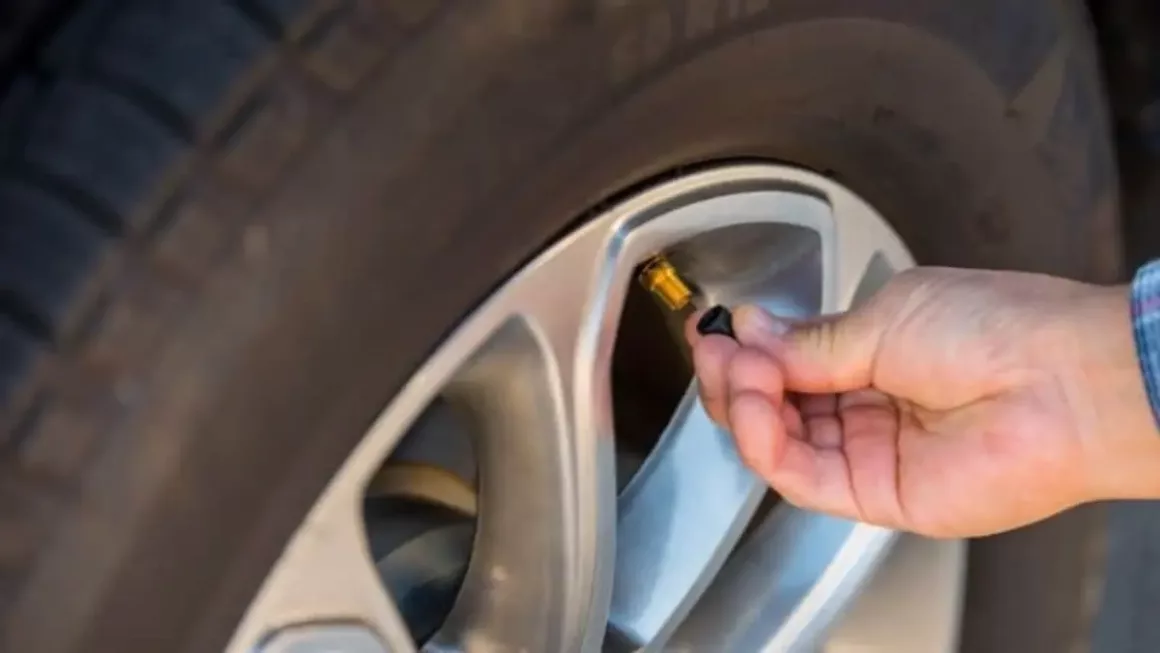
Twist off the small cap on the tire’s valve. Put it somewhere safe so it won’t get lost.
Press the Gauge Tight
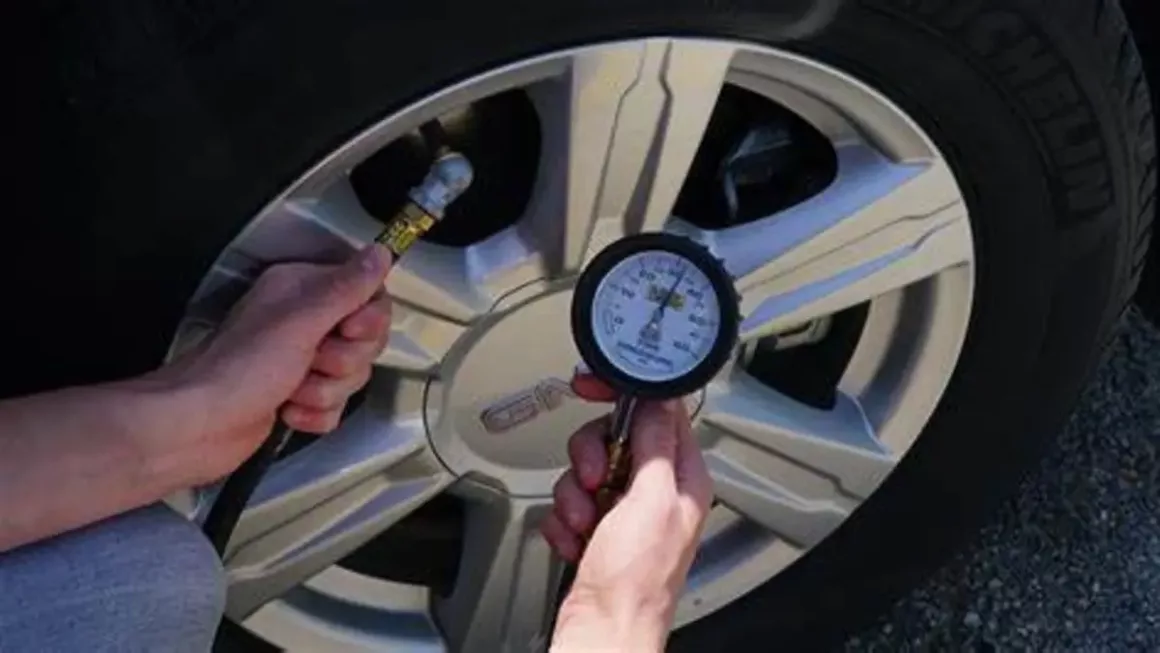
Put the pressure gauge on the valve and press hard. You’ll hear a quick air hiss (which is quite normal). The gauge will then show the air level.
Check and Fix
Match the number to what’s recommended. If it’s too low, add air with a pump (which you can buy, or get it done at a petrol station). If it’s too high, press the valve to let some air out and check again.
Recheck and Replace the Cap
Once everything is done, just recheck the pressure to make sure everything is correct, and then screw the valve cap back on tightly.
Checking Oil and Fluid Levels
Watching your car’s oil and fluid levels is key for it to work well and stay safe. Checking and topping up fluids like coolant, brake fluid, and washer fluid can stop problems and costly fixes. Here’s a quick guide:
Get Your Car Ready
First, park your car on flat ground and turn off the engine. Then, wait 10-15 minutes so the engine can cool. This step is key since a cool engine lets fluids settle and stops spills or bad readings.
Check Oil
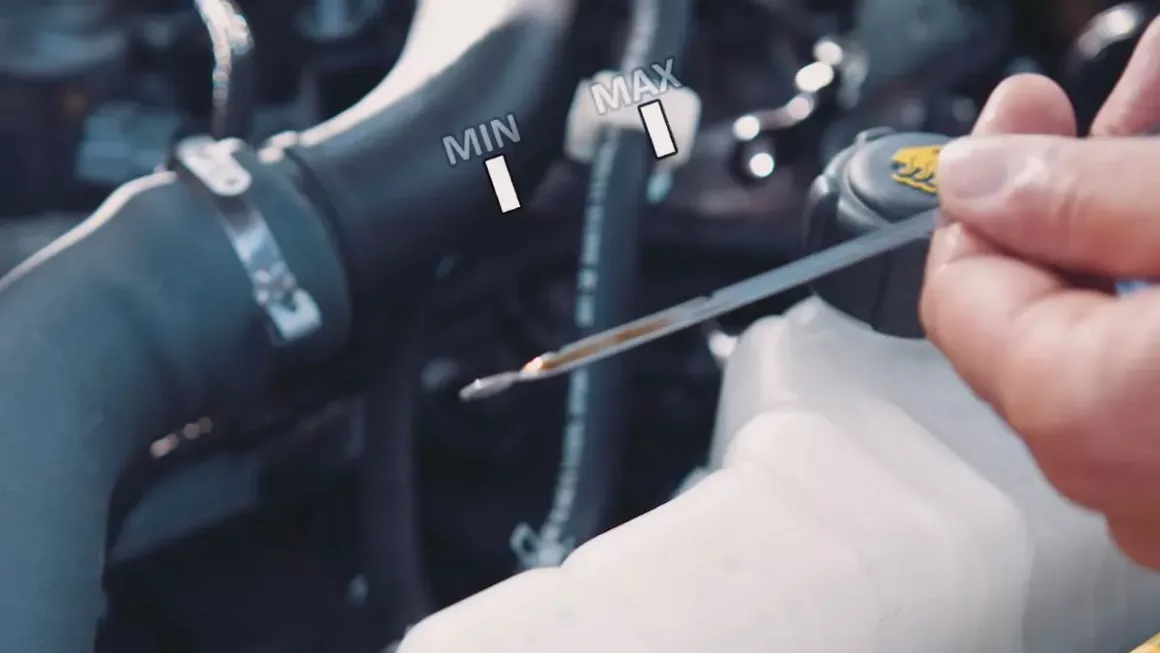
First, find the dipstick (it’s often yellow or orange). Take it out, clean it with a cloth, put it back in fully, then take it out to see the level. The oil should be between “min” and “max” lines. Add the oil your manual says to use if needed.
Look at Coolant
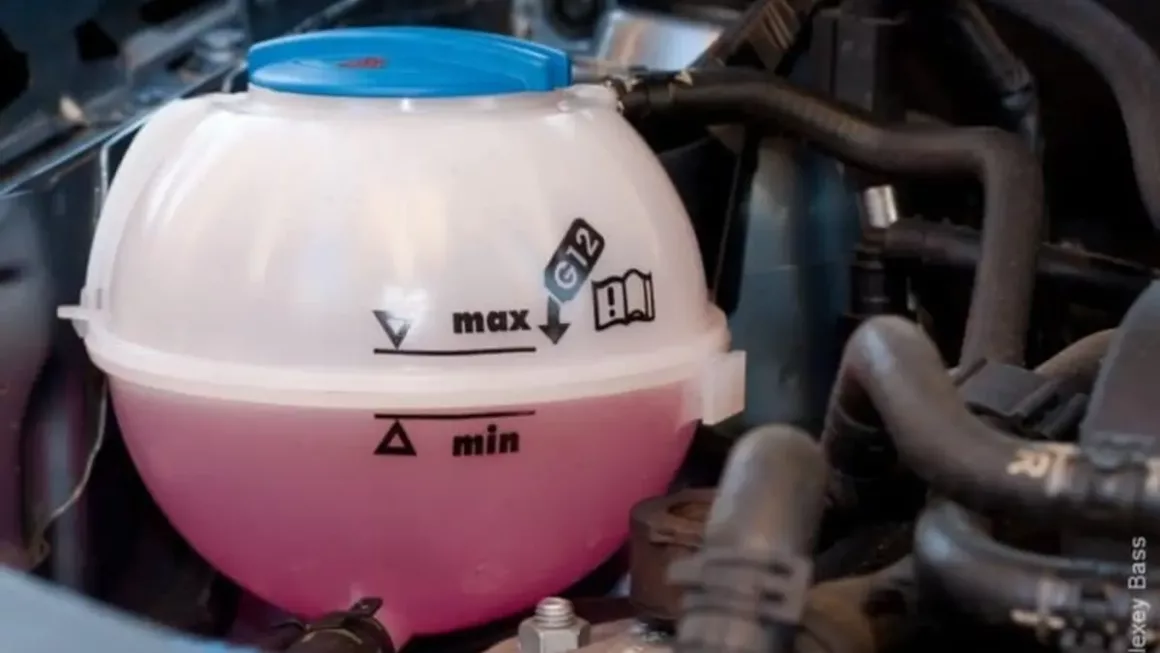
Find the coolant tank, a clear plastic bottle with “low” and “full” marks. If the level is below “low,” add a mix of half coolant and half water (or as noted in your car guide). Do this only when the engine is cold!
Check Brake Liquid
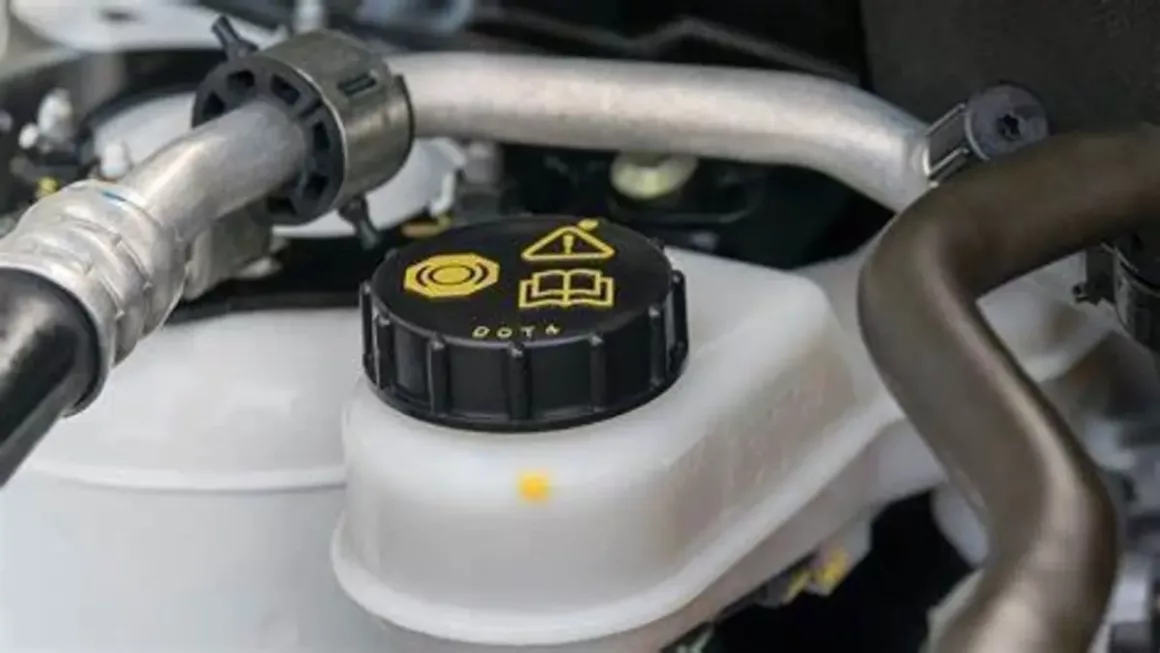
Find the brake liquid tank (usually at the back of the engine space). Look at the level near the “min” and “max” marks. If it’s low, fill it with the right brake liquid from your guide.
Fill Windshield Washer
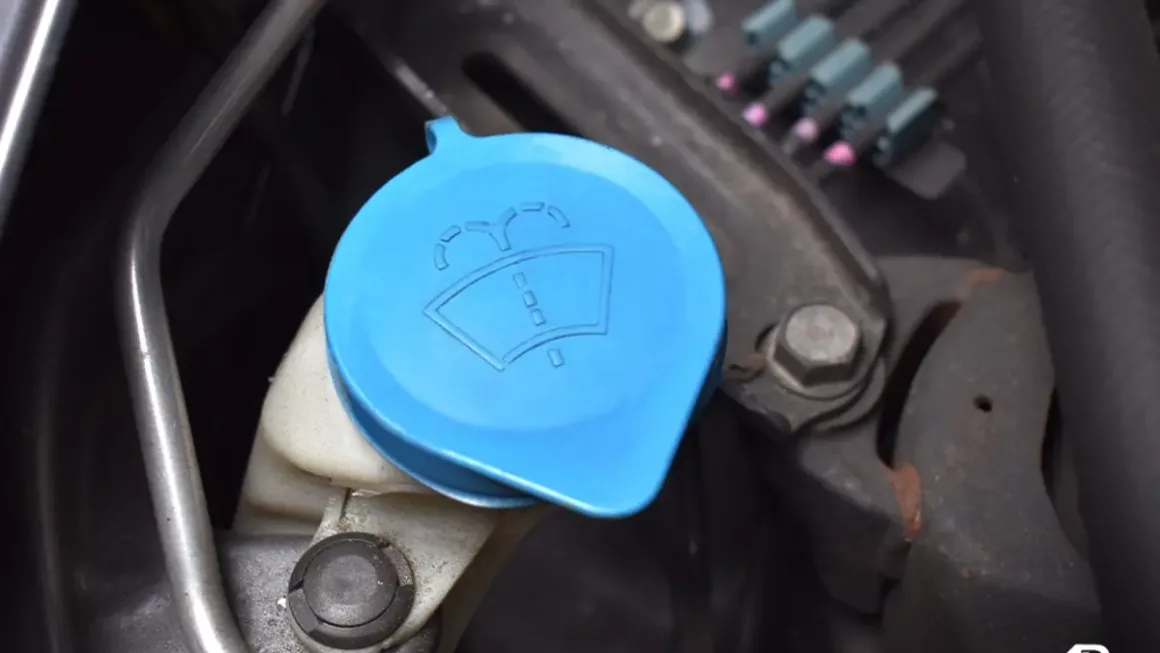
Open the fluid cap (often has a windshield sign). Pour the fluid in until it’s full.
Safety Tip for Spills
If you spill fluid, wipe it up fast with towels or kitty litter. Dispose of used towels or litter safely since fluids like oil and brake liquid are risky.
Cleaning and maintenance of battery
Your car battery helps everything run well, so cleaning and care can stop issues and make it last longer. Keeping it in good shape is easy and won’t take long. Here’s how to clean it, take care of it, and fix loose ends.
Prepare for Cleaning
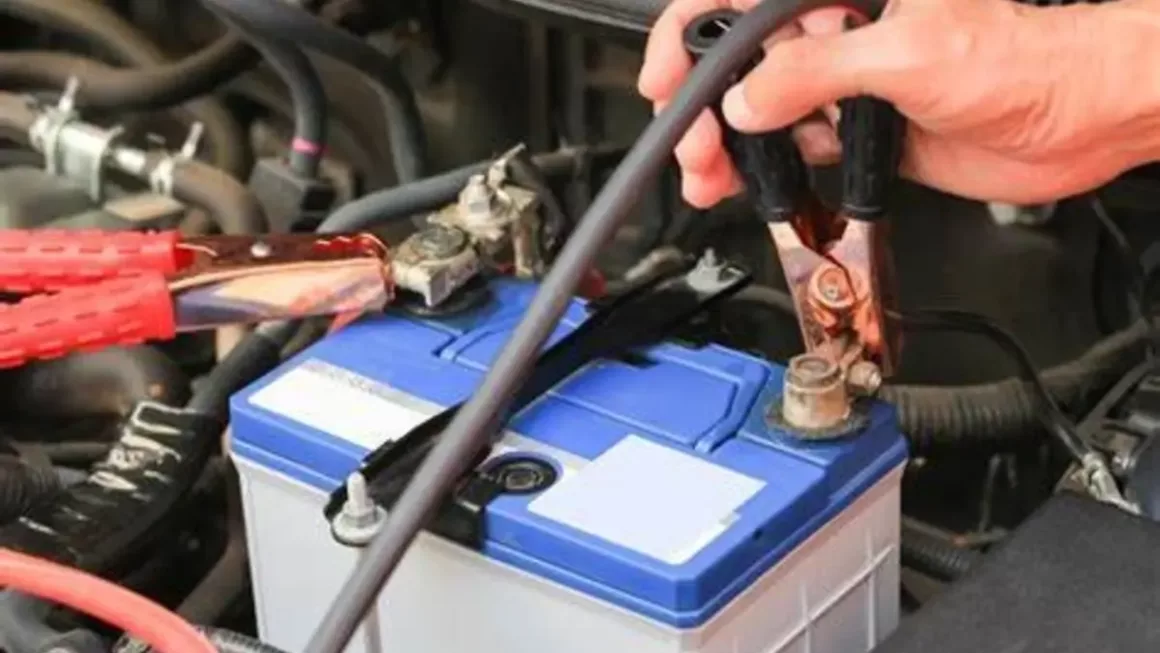
Before you begin, park your car on flat ground, switch off the engine, and wear gloves and goggles. Take off the battery cables, starting with the minus (-) cable, then the plus (+) one. This stops shocks or short circuits while cleaning. Always work where air flows well to avoid breathing bad fumes.
Clean the Terminals
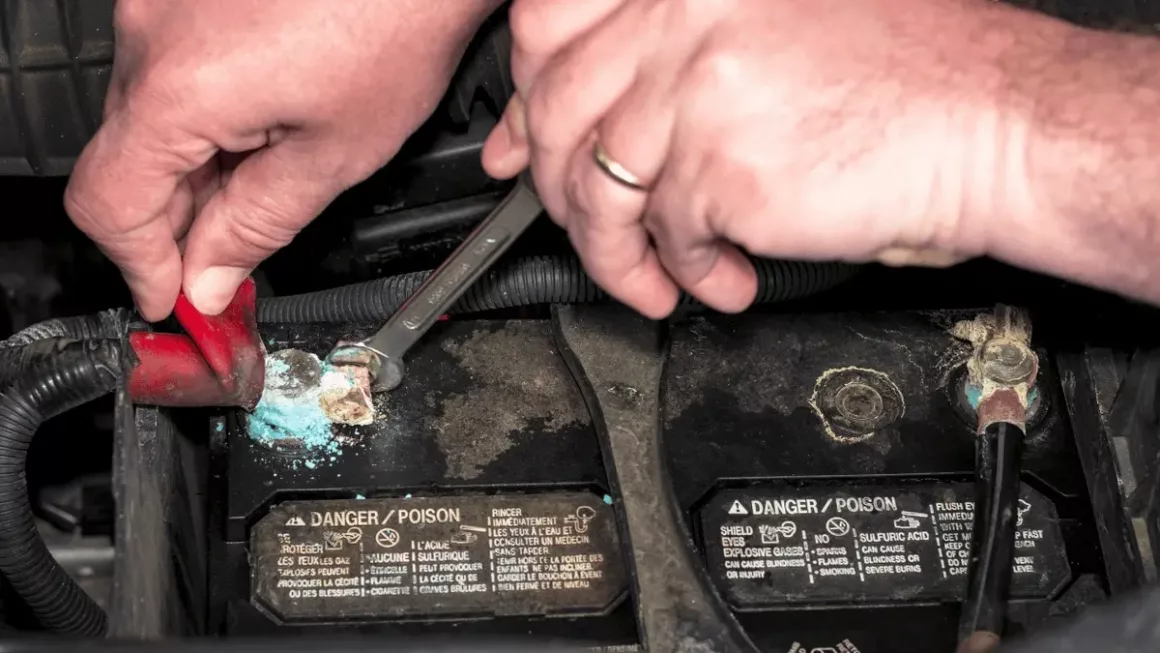
Look at the ends for rust, often seen as white, blue, or green dust. Use a wire brush or a special cleaner to scrub them softly. For tough rust, mix baking soda with water, spread it on the ends, and scrub well. Wipe away the dirt with a wet cloth to make it clean.
Inspect and Clean the Battery Case
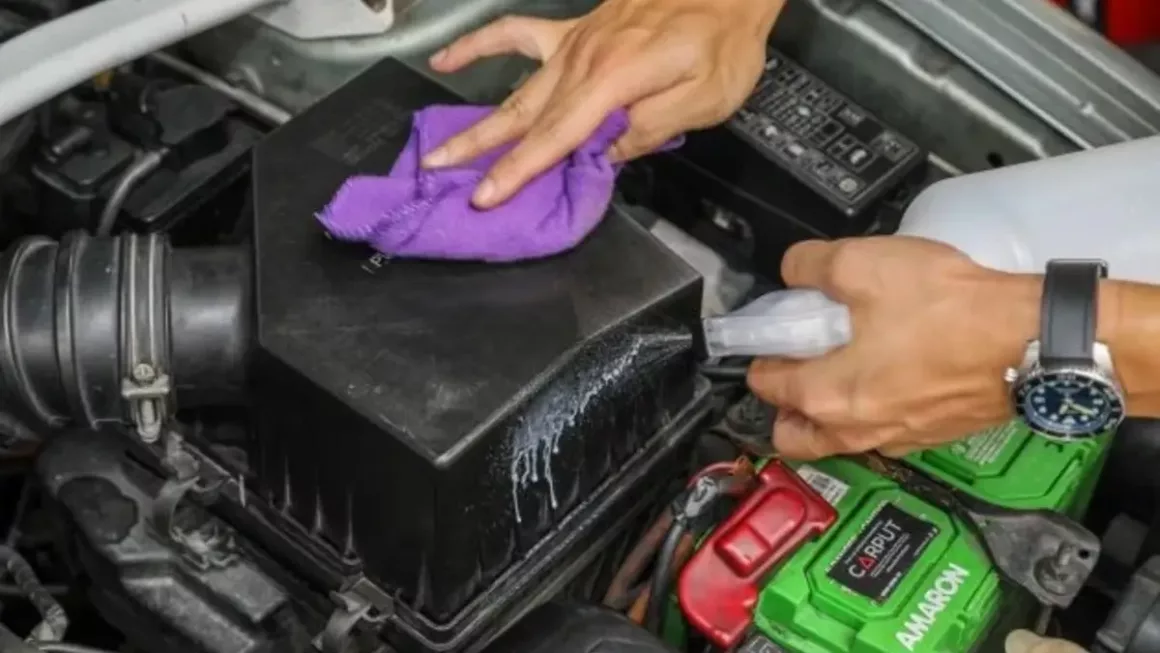
Check for dirt, grease, or cracks on the battery case. Wipe it with a damp cloth, but keep water out of the vents. Cleaning stops dirt from causing issues or harm to the battery. If you see cracks, replace the battery right away.
Check and Tighten Loose Connections
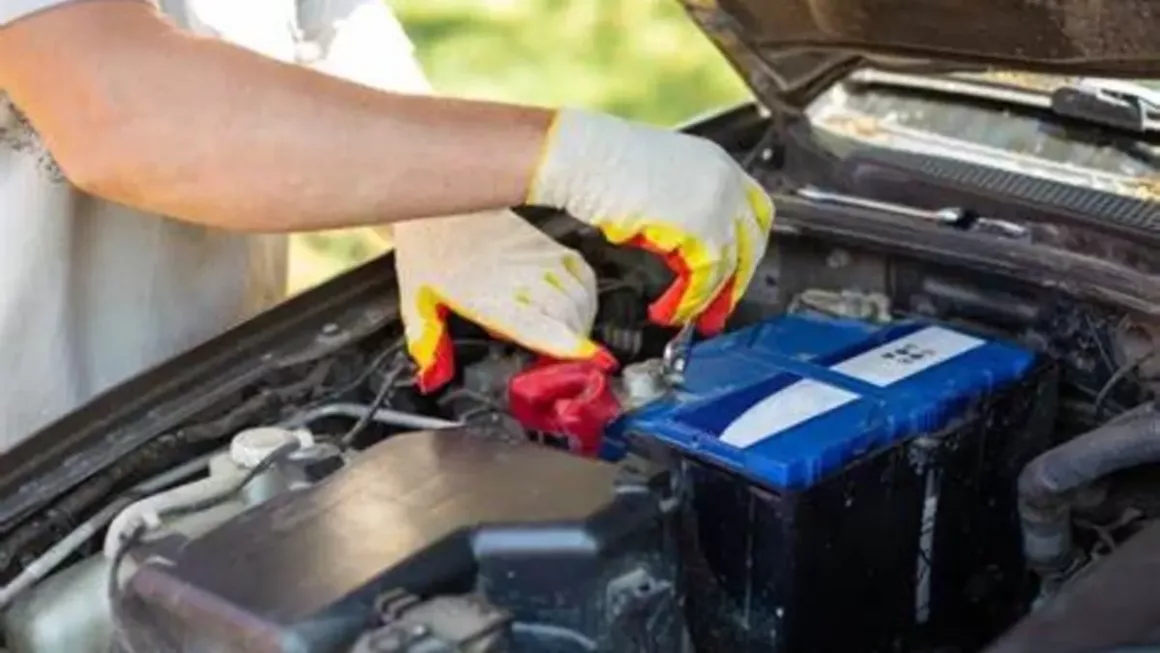
Loose wires can cause issues in starting the car and also give trouble while driving. After cleaning, connect the ends again, starting with the plus end (+) and then the minus end (-). Make sure they fit well by giving them a small shake. Use a tool to make them tight, but don’t make it too tight to avoid harm.
Apply Protective Coating
To stop and prevent future rusting, spread a thin coat of special terminal grease on the clean ends. This blocks air and wetness (moisture), helping the battery last longer and keeping strong connections.
Safety Tip for Acid Spills
Battery acid is very harmful and corrosive. If you see any leaks or spills, clean them gently with a mix of baking soda and water to stop the acid. Throw away the waste safely. Make sure to avoid any direct contact. If by any chance, the acid touches your skin or eyes, rinse well with water and get medical help fast.
Regular cleaning and maintenance of your car battery not only ensure optimal performance but also reduce the risk of unexpected breakdowns, keeping you safe and stress-free on the road.
Air Filter Replacement
Replacing your car’s air filter is an easy way to keep the engine healthy. An air filter’s job is to help clean air flow into the engine. Follow these steps to replace your air filter:
Prepare Your Car
Stop your car and turn it off. Lift the bonnet and locate the air filter box. It’s usually near the front of the engine bay and is a squared or rounded plastic piece. If you can’t find it, check your car’s manual to help you locate it. Wait until the engine is cool before starting.
Open the Air Filter Housing
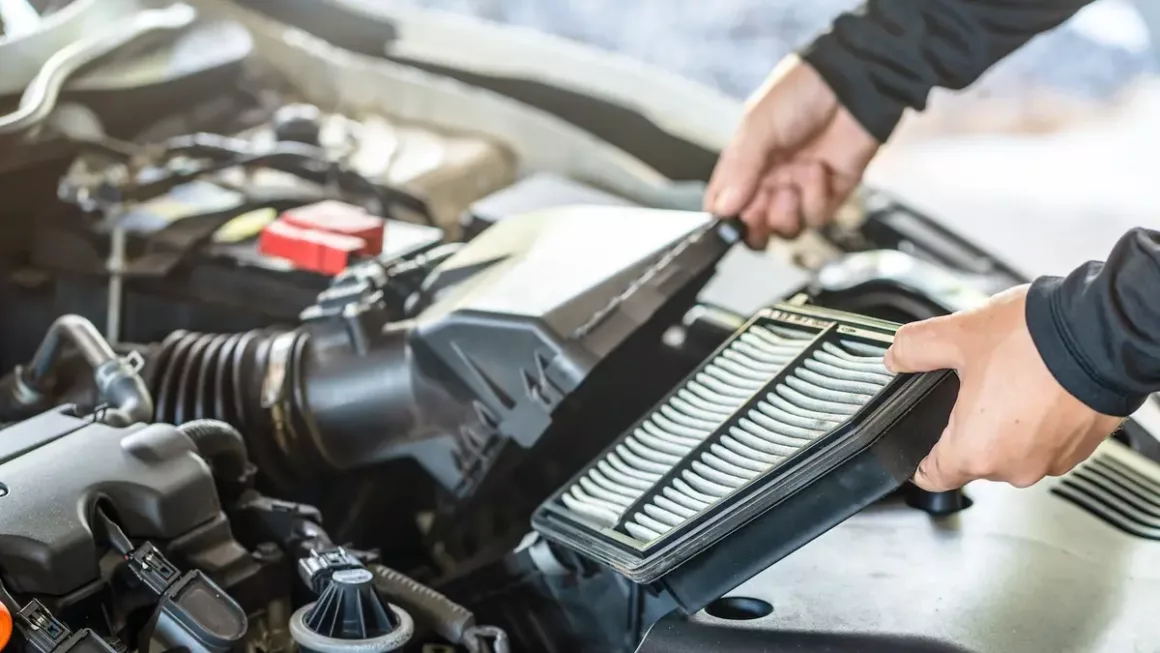
Check the air filter case for a pair of clips or latches to open it. When it opens, lift the top carefully to see the air filter inside. Just notice and try to remember how this old filter is fitted in because you’ll have to put the new one in the same way.
Remove the Old Air Filter
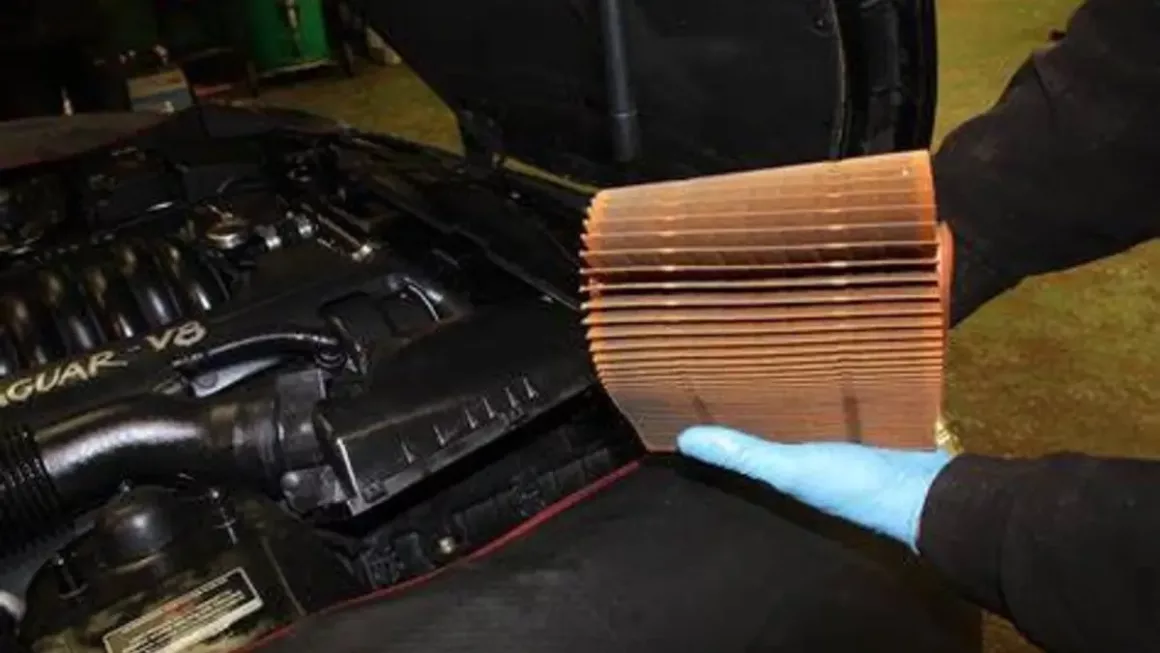
Remove the old air filter from its case and if it’s dirty, it’s up for a replacement. Clean the inside of the case with a wet cloth or use a vacuum to clear out any dirt or clutter that might harm the new filter.
Install the New Air Filter
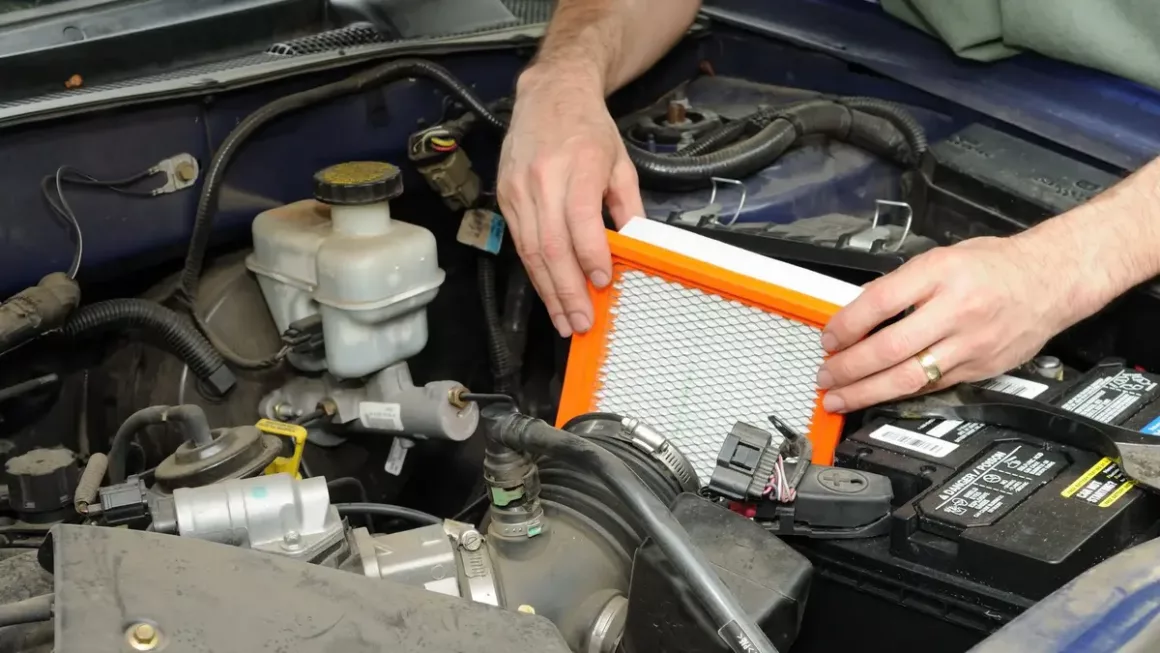
Put the new air filter in the case, making sure it sits tightly and the same way as the old one. Check that the edges are in place to stop air from skipping the filter. Use the right filter type listed in your car’s instruction manual for best fit and work.
Reassemble the Air Filter Housing
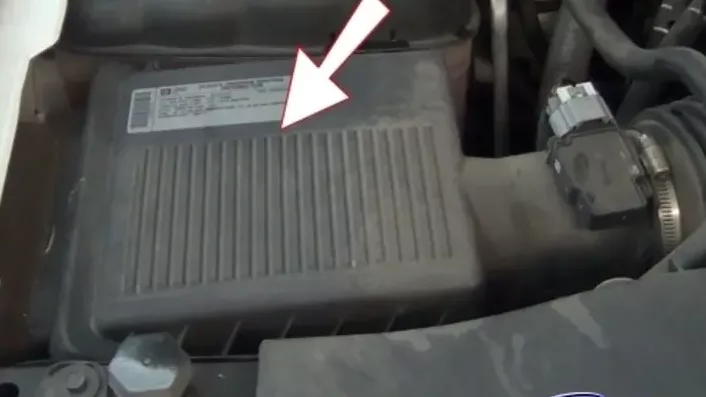
Put the air filter cover back on top. Lock it with the latches, screws, or clips. Check closely to see if it’s shut tight. If it’s loose, unfiltered air might get in, reducing engine performance and efficiency. Then, put the used filter in a plastic bag and throw it away.
When to Replace
Look at your car’s instruction manual or go to a nearby mechanic to find out when to change your car’s air filter. This is typically once a year or after 10,000 km.
Replacing Minor Parts
Changing smaller car parts is also necessary. They make driving your car easier and safer. They’re inexpensive, take little time, and can save you from costly repairs or inconvenience on the road.
1. Replacing Wiper Blades
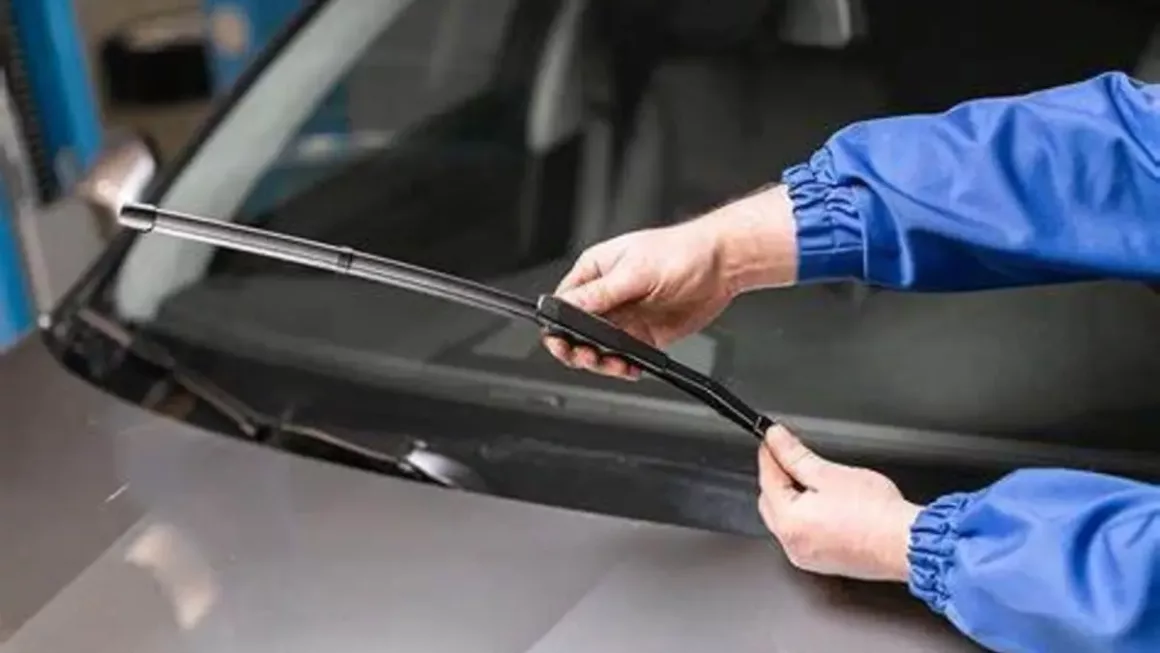
- Pull the wiper arms up from the windshield and keep it lifted.
- Next, remove the old blade. Find the clip or tab on the blade. Press it, then slide the blade off the arm.
- Remember, the wiper blade is the upper part which cleans the windshield, while the wiper arm is the lower part which holds the wiper blade.
- Next, put on the new blade: line up the new blade with the arm. Push it in till it clicks. Give it a light pull to check it’s fixed.
- Slowly bring the wiper arm back down to the glass. And you’re all done!
2. Replacing Light Bulbs
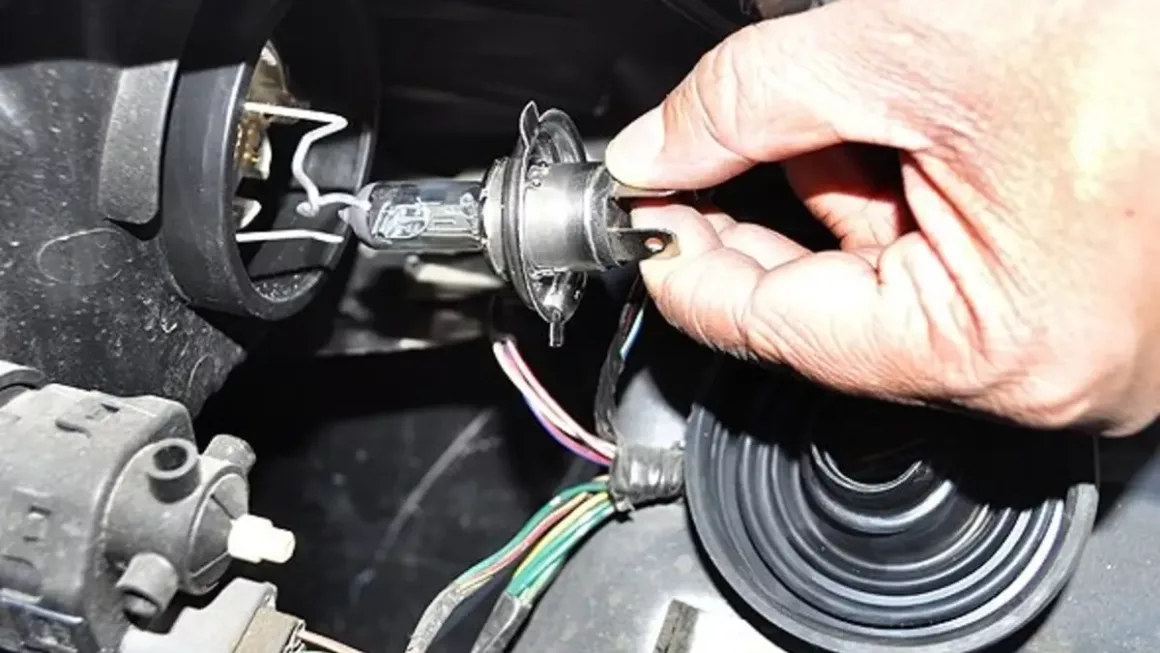
- Open the cover and access the light assembly through the boot or the rear panel by removing the screws.
- Turn the bulb holder left to take it out from the setup. Gently pull the old bulb out.
- Put in the new bulb, but don’t touch the glass. Use a glove or clean cloth.
- Place the holder back in the setup and turn it right to lock it. Check the lights before closing the cover or panel.
- Tip: Check your guide to know the right bulb type to use.
3. Replacing Fuses
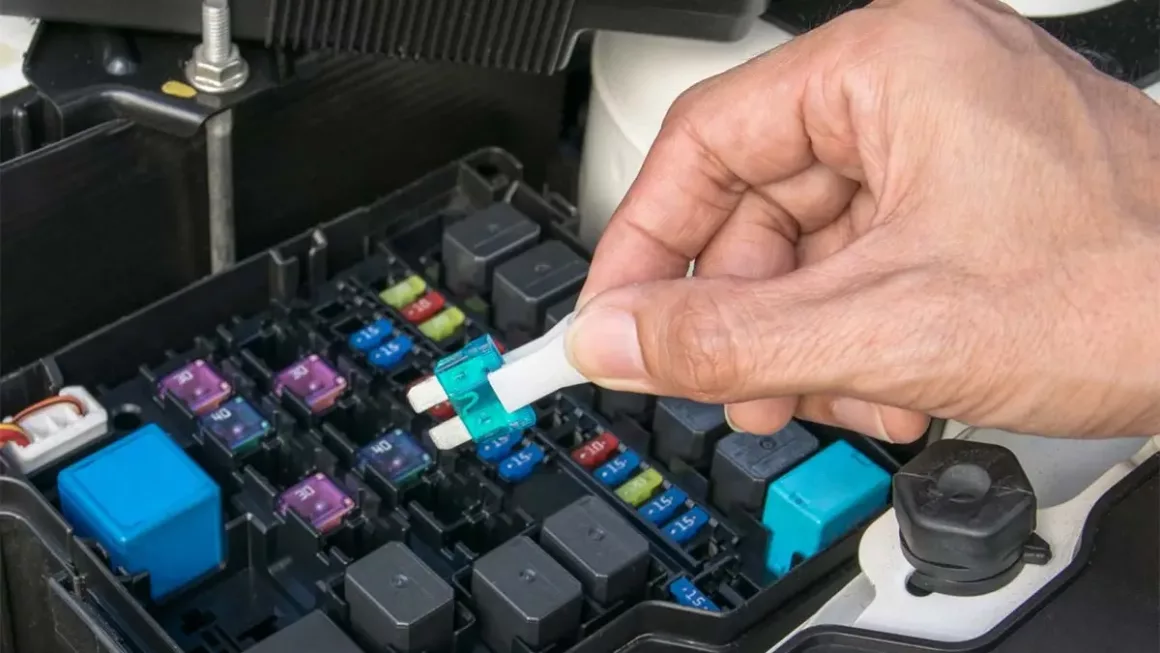
- Find the fuse box, often under the bonnet or dashboard. Check your car guide to see its spot and the fuse chart.
- Take out the bad fuse using a plas or another appropriate tool. Bad fuses have a broken metal strip or dark glass.
- Put in a new fuse with the same type indicated by the number written on the fuse and box. A wrong fuse can harm the car’s wires.
- Close the fuse box and test what was broken, like the lights or radio, to see if it works.
- Hint: Carry spare fuses of different sizes in your car for quick fixes.
General Safety Tips for Replacing Parts
- Always turn off the car and unhook the battery if working on wires.
- Check your car book for steps, part numbers, and what fits.
- Throw out old parts safely: most car shops or junk sites take them.
Summary
Keeping your car in good shape doesn’t always need an expert. Simple jobs like switching wiper blades, changing lights, or checking tires can save a lot of money. These small tasks are easy and can stop larger, costly fixes later. But if you find something hard or odd, don’t wait to see a mechanic. It’s better to be safe than to risk it. Paying for help is smart if needed. Take care of your car early, and you’ll enjoy a smoother, cheaper drive.
FAQ’s
Q. How often should I change my car’s oil?
You should change your car’s oil every 5,000 to 7,500 kilometers. It depends on your car’s brand and type.
Q. Why is my check engine light on?
The check engine light can turn on for many reasons, like an issue with the exhaust, fuel cap, or engine sensors. You should definitely call a mechanic to take a look at it and identify the exact reason.
Q. What are the signs that my brakes need attention?
If you hear squeaks, grinding sounds, feel shaking, or it takes longer to stop, it’s time to check your brakes.
Q. How can I maintain my car’s battery?
Keep the battery clean from dirt and rust. Test it often and change it every 3-5 years.
Q. Is it necessary to rotate my tires?
Yes, you should rotate your tires every 10,000 kilometers. This helps them last longer and wear evenly.

 ne big family!